 South Africa is experiencing a wave of investment in fibre optic communications, with hundreds of millions being spent on the rollout of fibre cables in our major cities and surrounding suburbs providing “Fibre-to-the-Business” and “Fibre-to-the-Home” internet services.
All the major telecommunications companies and even smaller players are part of the land grab to connect as many customers as possible as quickly as possible. This is a very positive development for the country as we race to catch up with the rest of the world and some of our African counterparts in the delivery of low cost broadband internet services. However, the fibre rush has also created some short term challenges to the industry and the municipalities that need to manage and plan these extensive cable installations in our cities, not to mention the pressures put on the landlords of our business premises.
We have seen first-hand in Pietermaritzburg the impact to business when cooperative planning fails affecting other services, such as the electricity and water supply.
As the representative voice of business, the PCB is conducting a survey to establish the true business demand for fibre communications within the city. Our hope is that the survey will be well supported, by members and non-members alike, to provide meaningful insight, based on which we can work with the city and suppliers to develop a structured approach to the deployment of fibre in our city. In this way we aim to minimise the interruption of services, accelerate the deployment of fibre, and importantly, reduce the connectivity costs, allowing a greater percentage of our business community to take advantage of high speed internet communications.
Our vision is, assuming a strong response, that the installed infrastructure will be the foundation of a “Smart City”, allowing the city the ability to remotely manage service delivery in real time. This feasibly would include water and sanitations services, electricity supply and energy management, surveillance and security services, transportation and public Wi-Fi services.
One Step at a Time
For now, all we are asking is that you participate in our survey and encourage as many people as possible within your business network, to complete the survey on our website, whether they be members of our chamber or not.
As a community we can build a better city at a lower cost to us all.
Please click here for the survey link.
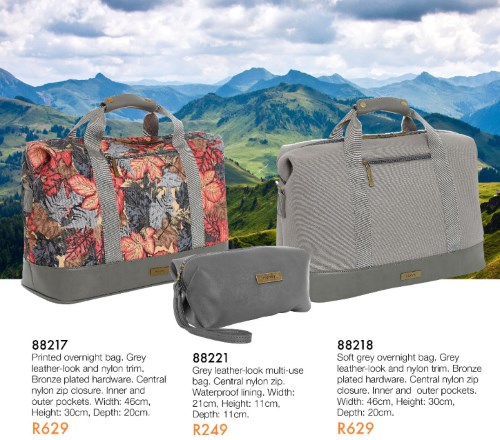 The perfect size travel bag for a weekend away or hand luggage on an aeroplane.
 It’s that time of the year when my phone rings a little more frequently than normal. I’m not complaining. This is a good thing for us ASP Tutors. However, we do think it’s pertinent to perhaps highlight a couple of best practice principles to consider for success in academics.
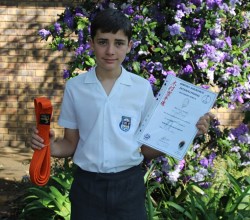 Michael Finch received his Orange Belt in Kimura Shukokai International Karate. Michael, a Grade 6 pupil at Laddsworth Primary School also received a certificate for the 7th rank in Kyu Grade on 23 October 2016 in Pietermaritzburg. Well done Michael!
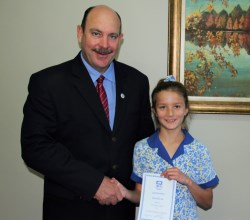 Laddsworth pupils participated in the SACEE Language Challenge which was held in September. SACEE aims to maintain, promote and encourage education through the medium of English and to improve the standards of written and spoken English in South Africa. We are extremely proud of Victoria Fuller, a Grade 5 pupil who achieved 98% for the SACEE Language Challenge.
 It’s not unusual today to meet a woman who balances a challenging career with a plethora of household responsibilities, the intricacies of modern childcare and a fulfilling social life. She is certainly no longer lauded for her super-human abilities – it is simply expected of her. The Working Mothers Expo, in partnership with MiWayLife, takes place at the Sandton Convention Centre from the 4th to the 6th of November 2016. This will be the first time that an expo in South Africa will be directly geared to meet the needs of working mothers.
 Zapper has teamed up with Elements Market Cafe to give you 10% off your meal! All you have to do is pay using Zapper and VALA - 10% off your Elements meal!
 Jodi (Grade3) and Tessa Moreno (Grade 1) participated in the Abacus Maths National Competition in Johannesburg on Saturday, 22 October 2016. There were about 130 participants representing their respective provinces across South Africa. The Laddsworth sisters both won gold medals for their respective levels. Jodi also won the trophy for the best junior in the country for Abacus dictation. Both girls have been selected to represent South Africa in Thailand in 2017. Well done girls, Laddsworth is extremely proud of you!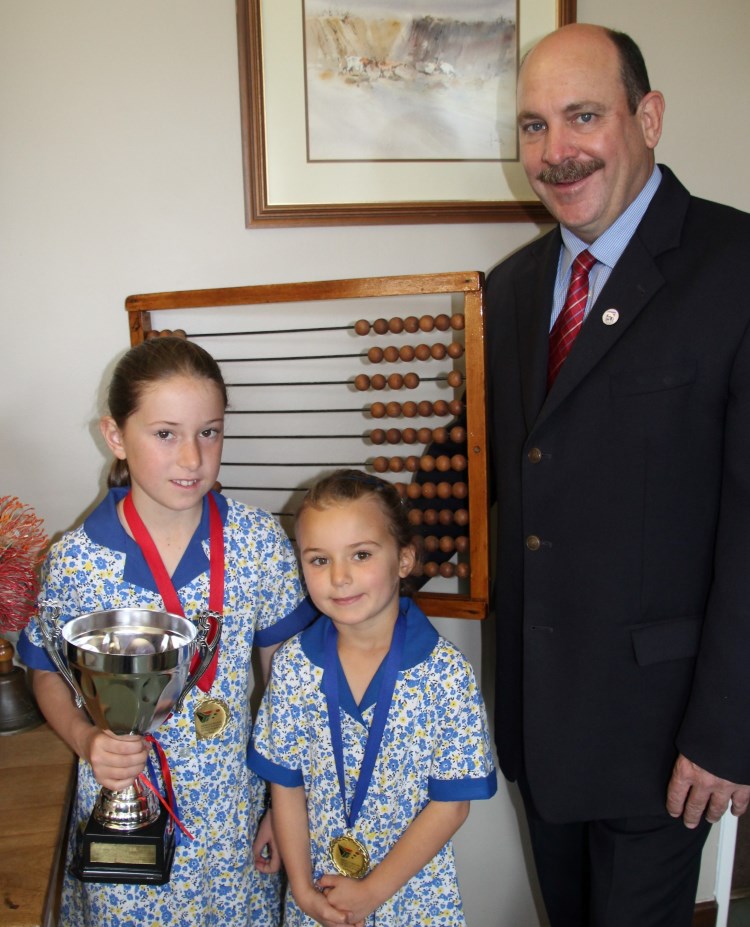
 Don't miss this fantastic opportunity to not only have a mini family photo shoot with an incredible photographer,
 Are you looking for an outdoorsy, farm- style environment for your child to learn and grow in? Small classes with wonderful teachers, creative and experiential learning? We offer all of that plus music, pottery, Playball and Actionball, baking, messy play, outings and much more!
 Details: 7pm, R20 entry, food and soft drinks available, BYOB, visit www.mith.co.za for more details and directions.
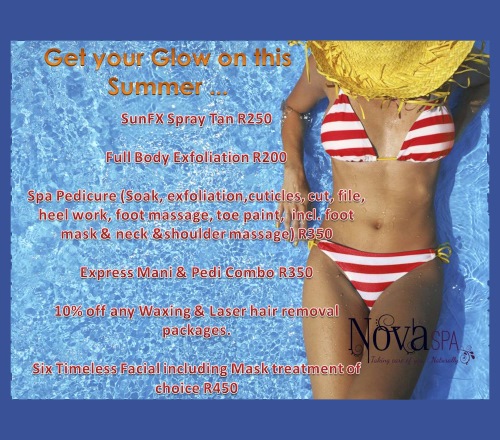 Get ready for Summer with
 Our
Our  MUSIC IN THE HILLS THIS WEEK (Wed 26 October)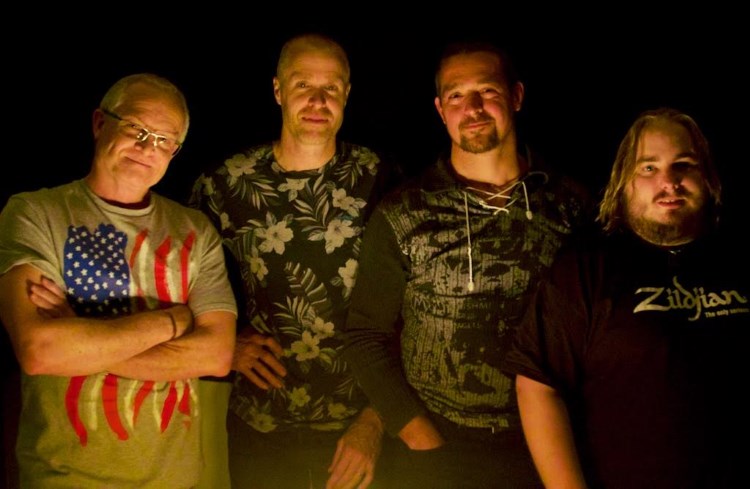
 Planned closure of the MR139-2 (Dennis Shepstone Road) between Hilton and Sweet Waters Areas on Sunday, 23 October 2016 from 5am to 5pm. The purpose of the closure is to construct a rock fill layer through the full width of a max. 100 long section of the road near the Edendale turn-off from the Denis Shepstone Road MR139-2.